Certainly! Adjusting the CPU fan speed can help manage system temperature and optimize cooling, especially during demanding tasks. Here’s a step-by-step guide on how to increase CPU fan speed:
Access BIOS/UEFI Interface
Restart your computer and enter the BIOS/UEFI interface. This can typically be done by pressing specific keys during startup (commonly Del, F2, F12, or Esc). The key varies depending on your motherboard manufacturer.
Locate Fan Control Settings
Navigate through the BIOS/UEFI interface to find the “Hardware Monitor,” “PC Health,” or “Fan Control” section. The exact location may vary based on the BIOS version and motherboard manufacturer.
Enable Manual Fan Control
Look for an option that allows manual control of fan speeds. Some BIOS versions provide options like “CPU Fan Speed Control,” “Fan Speed Mode,” or “Smart Fan Control.” Enable this setting to gain access to fan speed adjustments.
Adjust Fan Speed Curves or Settings
Once manual control is enabled, you’ll likely see options to adjust fan speed curves or settings. These options might be labeled as “Fan Speed Control Mode,” “PWM Mode,” or “Fan Curve.” Choose the appropriate option for your motherboard.
Modify Fan Speed Settings
Select the CPU fan from the list of fans available for adjustment. Adjust the fan speed settings by changing the fan curve or selecting predefined settings like “Performance,” “Standard,” or “Full Speed.” You can also manually input percentage values for fan speed.
Save Changes and Exit
After making adjustments, save the changes in the BIOS/UEFI interface. Look for the option to “Save and Exit” or a similar command. Confirm your choice to exit the BIOS/UEFI.
Monitor Fan Speed
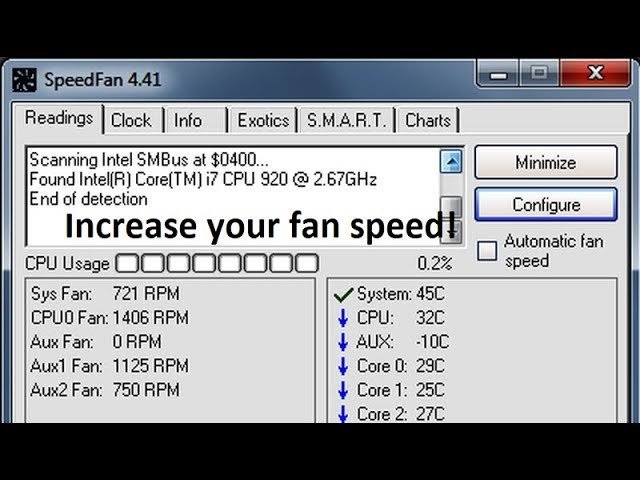
Once your computer boots back into the operating system, use monitoring software like HWMonitor or SpeedFan to check the CPU fan speed. These programs display real-time information about fan speeds and temperatures.
Test and Fine-Tune
Run tasks that stress the CPU to observe the effect of the changes on fan speed and temperature. Adjust the settings further if necessary to find the balance between noise levels and effective cooling.
Consider Third-Party Software
If your motherboard’s BIOS doesn’t offer detailed fan control options, consider using third-party software provided by the motherboard manufacturer. Some manufacturers offer dedicated utilities for fan speed adjustment and monitoring.
Cautionary Note
While increasing the CPU fan speed can enhance cooling, it might also result in increased noise levels. Always consider the trade-off between temperature reduction and noise generation, especially if fan noise is a concern.
Final Thought:
Adjusting the CPU fan speed through the BIOS/UEFI interface provides greater control over system cooling. By carefully modifying fan settings, users can effectively manage CPU temperatures, optimize cooling performance, and maintain system stability during intensive tasks. However, always exercise caution when making changes in BIOS settings to prevent potential system instability or damage.
